Google Classroom App

Google Classroom App Store Banner

If you have a smartphone, please go into the app store (see links below) and install the Google Classroom app. This will allow you to get Classroom notifications which will help you be more successful in this class.

IOS
https://itunes.apple.com/us/app/google-classroom/id924620788?mt=8

Android
https://play.google.com/store/apps/details?id=com.google.android.apps.classroom&hl=en_US

I also recommend that you check your school board email account daily for any notifications from Google Classroom, especially to check for any comments I have made on your submissions.

Students’ Favourite Affinity Designer Tutorials

At the end of this semester I asked the Communications Technology students to share which Affinity Designer tutorials were their favourites and why.

Following are their responses.

Creamsicle Vector
https://bit.ly/2FBzSbl

This was one of the tutorials that I found on my own, and I really enjoyed it. It was a fun tutorial that involved using a lot of basic tools in different ways to create a fun illustration.

Some of the skills used were masking, subtracting, changing stroke size, and changing fill opacity.

Retro Tutorial
https://bit.ly/2JSy93I

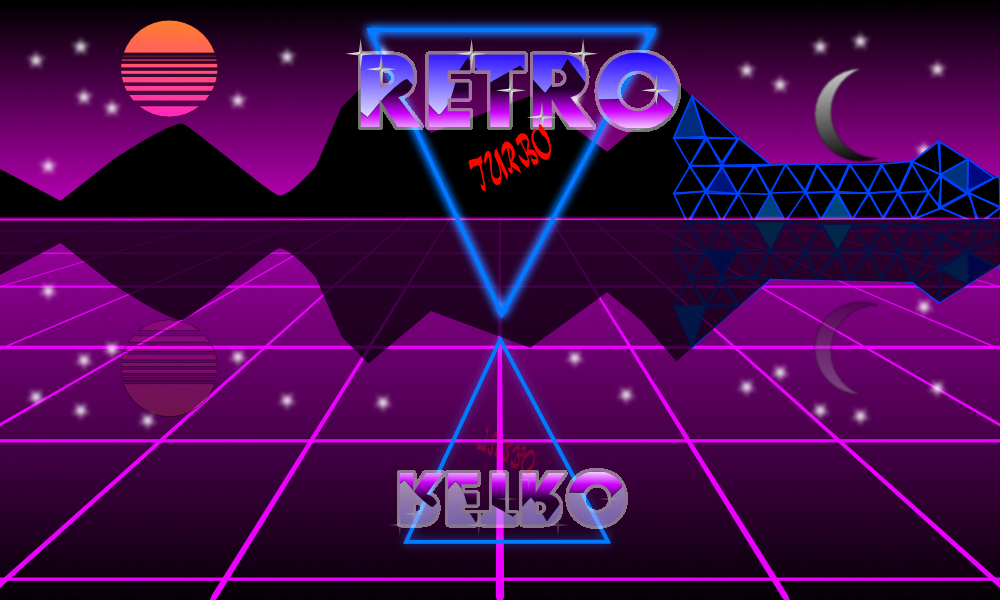
I enjoyed this tutorial as it involved a little bit of everything and taught me about reflections and node tools. It also got me to experiment with different tools and techniques.

I also learned the importance of grouping as it becomes very messy when there are 20 different lines and none were labeled.

Cute Rooster
https://bit.ly/2JVi1yJ

I enjoyed this tutorial because the end result turned out good and the instructions weren’t complicated. The tutorial also allowed you to customize your rooster to fit the theme that you want, not just Chinese New Year.

This tutorial taught me how to make advanced shapes using the pen tool. It also taught me why I need to group my layers together.

Flat Design Castle
https://bit.ly/2QUfpAw

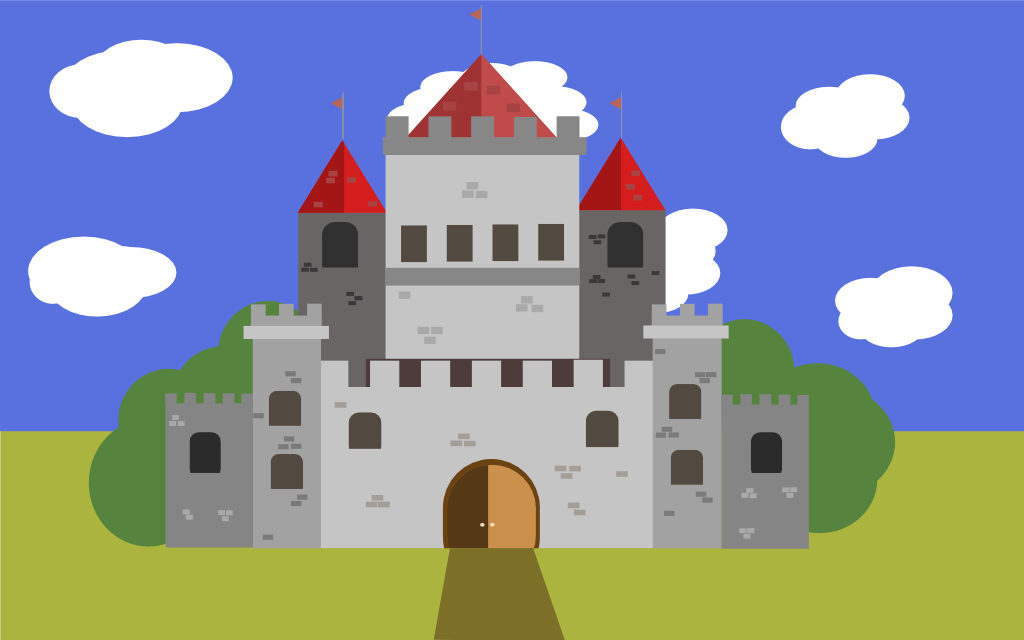
This tutorial was one that I found. I liked it because of it’s symmetry and simple style. I liked it because it allowed freedom but also wasn’t very vague in it’s instructions, it struck a good balance between the two.

Some of the skills learned were Duplication of vectors and how to make things look like they have value.

Volkswagen Van
https://goo.gl/nwnN5i

Image result for Affinity Designer - Drawing a van

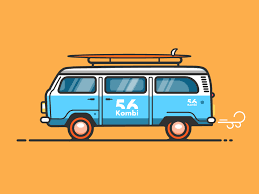
I really liked and enjoyed this tutorial for a couple of reasons. One, it was a super fun tutorial to follow and complete. Two, it really challenged you at some points. Three, it was a fun tutorial to follow and I had a great time doing it!

Also, I learned new techniques for the program which were very cool for me.

How to Create Patterns
https://bit.ly/2CqJnXq

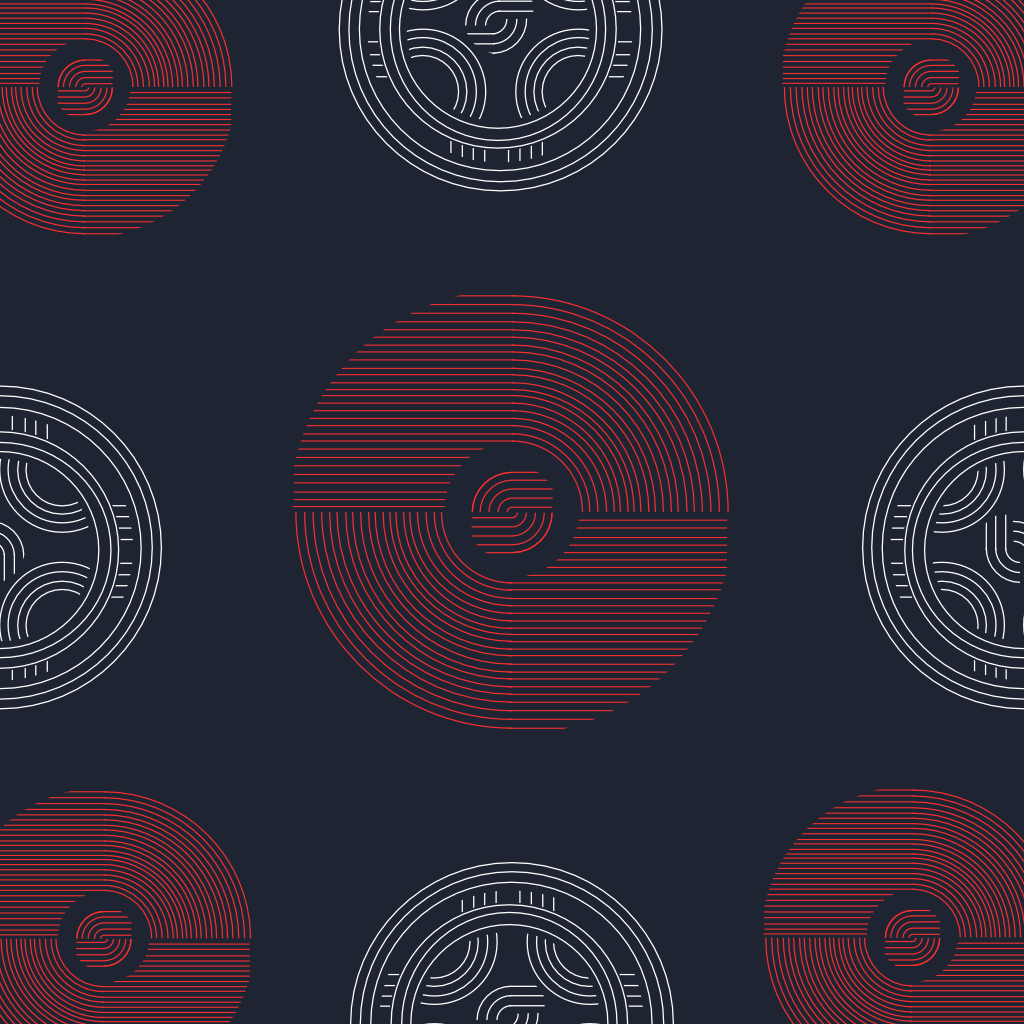
I really liked this tutorial because it was very easy to follow. It was very clear and concise. It also looks really cool and complicated to make when in reality it was very simple. From this tutorial I needed a lot of patience, there was lots of little lines and very exact spacing measurements I needed to follow.

Python Trace
https://bit.ly/2HIIZEt

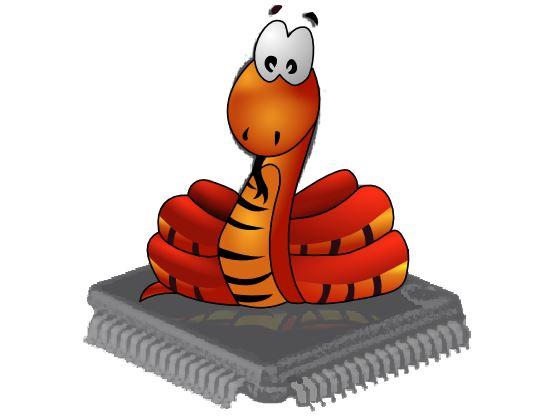
The video does a very good job on explaining on how to do the tracing but after showing you how to do one part of the snake it skips forward to coloring.

This Tutorial is very enjoyable but very tedious because there is a lot of repeating work but the enjoyable stuff is that you can customize the colors and stripes however you want and the finished project that comes out looks really nice.

Captain America Shield
https://bit.ly/2sUUPqt

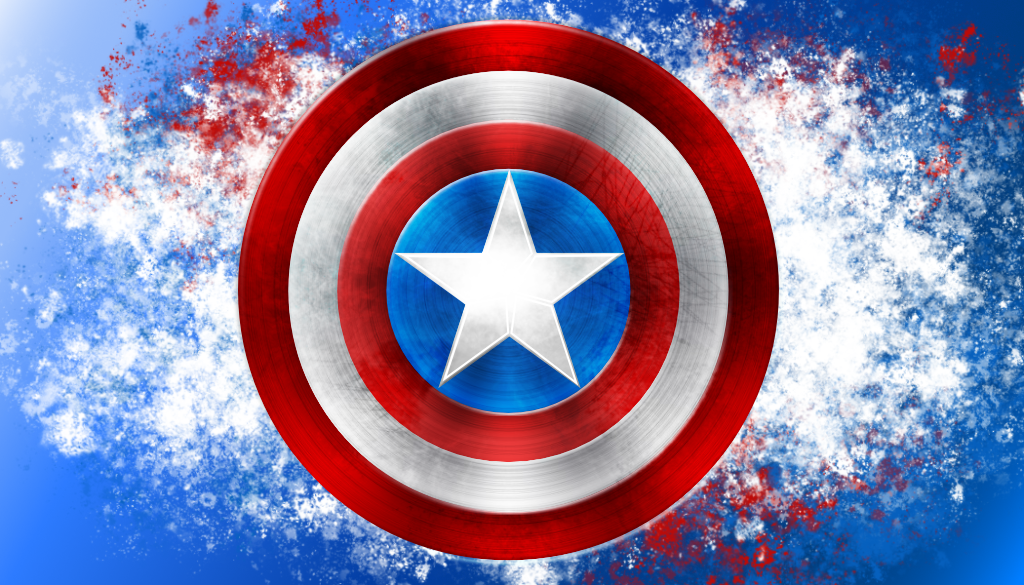
I enjoyed this tutorial because it used a wide variety of skills and showed off the many parts of Affinity Designer while showing you a tangible way to use all of them.

Some skills I used include using different types of layers and how to use the pixel persona in Affinity Designer.

Festive Christmas Fireplace
https://bit.ly/2HLlv1o

I liked this tutorial because it was the most interesting out of all the tutorials and it didn’t take that long to make and it helped that the program was so good and it made is way easier and learning how to use it and fix my mistakes.


For those that don’t know about Affinity Designer, it’s what I’ve started using in class as an alternative to Adobe Illustrator. I just can’t substantiate paying Adobe’s ridiculous subscription fees when there is a fantastic and just as capable alternative available for a one-time fee of just $50 US.

See https://affinity.serif.com/en-gb/designer/ for details.

Late Submission Policy

The general policy for late submissions is that 5% of your achieved mark will be deducted per day to a maximum of 15% for grades 9-10 and a maximum of 25% for grades 11-12 (DSBN policy). There may be exceptions to this, depending on the specific circumstances.

If assignments are posted online and can be done from home, absence due to a school activity does not extend the deadline.

If the situation warrants that an assignment can no longer be handed in, the mark will be a zero beyond that.

(You will only be given a reasonable amount of time to submit a late assignment. Don’t expect to be handing in assignments two or three weeks after they are due!)

Repair Portrait Photo

Download this photo into your working folder. (credit: original source unknown)

Rename the file “Full Name Course Code Repair Portrait Photo.jpg”.

Using Affinity Photo or GIMP, edit out all the imperfections in the photo.

Hand in to the relevant handin folder.

Note: be sure to leave a copy of the original image as the background layer.

Already Done This Assignment?
 
Note: for students who have done this assignment previously, use this sailor photo (credit: http://goo.gl/sgbhVV) instead (note: this image is only available to students on the class mail list).
Using Affinity Photo (or equivalent), put each segment on its own layer, then colourize the image for full marks. Hand it into the same folder as the Repair Photo assignment.  [instructor link]
Want some extra challenges? See this website.

Affinity Photo Tutorials

This list of tutorials has been recommended by my students (from this master list) and is a work in progress. The order of the tutorials is somewhat random right now but will be reordered based on student feedback.

  1. Beginners – Adjustments (difficulty: 1)
  2. Beginners – Exporting (difficulty: 1) (no assignment)
  3. Beginners – Filters (difficulty: 1)
  4. Beginners – Layers (difficulty: 1) (assignment: put a logo on a picture….your choice!)
  5. Removing background from Trees (Leaves selection) (difficulty: 1)
  6. Haze Removal (difficulty: 1)
  7. How to Change Eye Color (difficulty: 2)
  8. Inpainting (difficulty: 2)
  9. Layer Concepts (difficulty: 2) (no assignment)
  10. Shadows/Highlights (difficulty: 2)
  11. Curves (difficulty: 2)
  12. Clone Brush Tool (difficulty: 2)
  13. Refining Selections (difficulty: 2)
  14. Easily Create REALISTIC Light Beams (difficulty: 2)
  15. Adjustment Layers (difficulty: 3)
  16. Mask Layers (difficulty: 3)
  17. Affinity Photo Tutorial Manipulation Effects Editing (difficulty: 5) (Note 2)
  18. How to Retouch Skin in Affinity Photo (difficulty: 5) (Note 1)

You must do all the level 1 tutorials, a minimum of 5 level 2’s, and a minimum of 2 level 3’s, 4’s, and 5’s.

Note 1: take your own picture for this assignment.

Note 2: use only creative-commons photos for this assignment. Be sure to keep the links to your sources to give credit!

Multiplicity

See the example photos below for an idea of what this assignment is about.
It is highly recommended that you use a tripod for this assignment, but it can be done without.
Be sure you submit your assignment with all the layers intact. Do NOT flatten the image.
Here are some instructions created by a former student that may help if you don’t know how to proceed.
If you wish to practise using the images used in the first example, you can download them from here.
Mr Beens (images)
Sammi C.
Connor H.
Alexis R

Artist Profile

Create a Google Presentation slideshow similar to the one found here.

In your slideshow, profile an artist or photographer whose work you find inspirational. Include a minimum of ten pieces of work, if possible, and be prepared to share your research on the artist and your thoughts and research on each of the pieces, including why you chose that piece, what’s unique and/or inspirational about it, and any history you feel is relevant.

Name your presentation “Full Name Course Code Artist Profile – Name of Artist“, and submit it in Google Classroom.

For the intro to your live presentation, explain why you chose this artist or photographer and any relevant information you learned about the artist.

For marking, consider:

  • Have you included the minimum number of pieces?
  • Have you fully researched the background of the artist?
  • Have you researched the history of each of the pieces?

Note: Submit the name of the artist or photographer in Google Classroom in the comments. First-come-first-served!

TGJ2O TGJ3M TGJ4M Mark Breakdown

1Students are expected to come to the exam period to discuss their portfolio with the instructor. For TGJ2O students that meet the exam exemption criteria set by the school (mark > 70%, maximum 9 days away, all major assignments completed, and no suspensions), they will be exempt from attending the interview but are still encouraged to come in.