ePortfolio | Affinity Photo Tutorials

Copy-and-paste five of your favourite five Affinity Photo tutorial files.

Under each picture put “Tutorial: URL”, where URL is the bit.ly shortened version of the URL.

For each tutorial, include a short paragraph explaining why you enjoyed this tutorial and what technical skills you learned from it.

Ensure the page is aesthetically pleasing.

Repair Portrait Photo

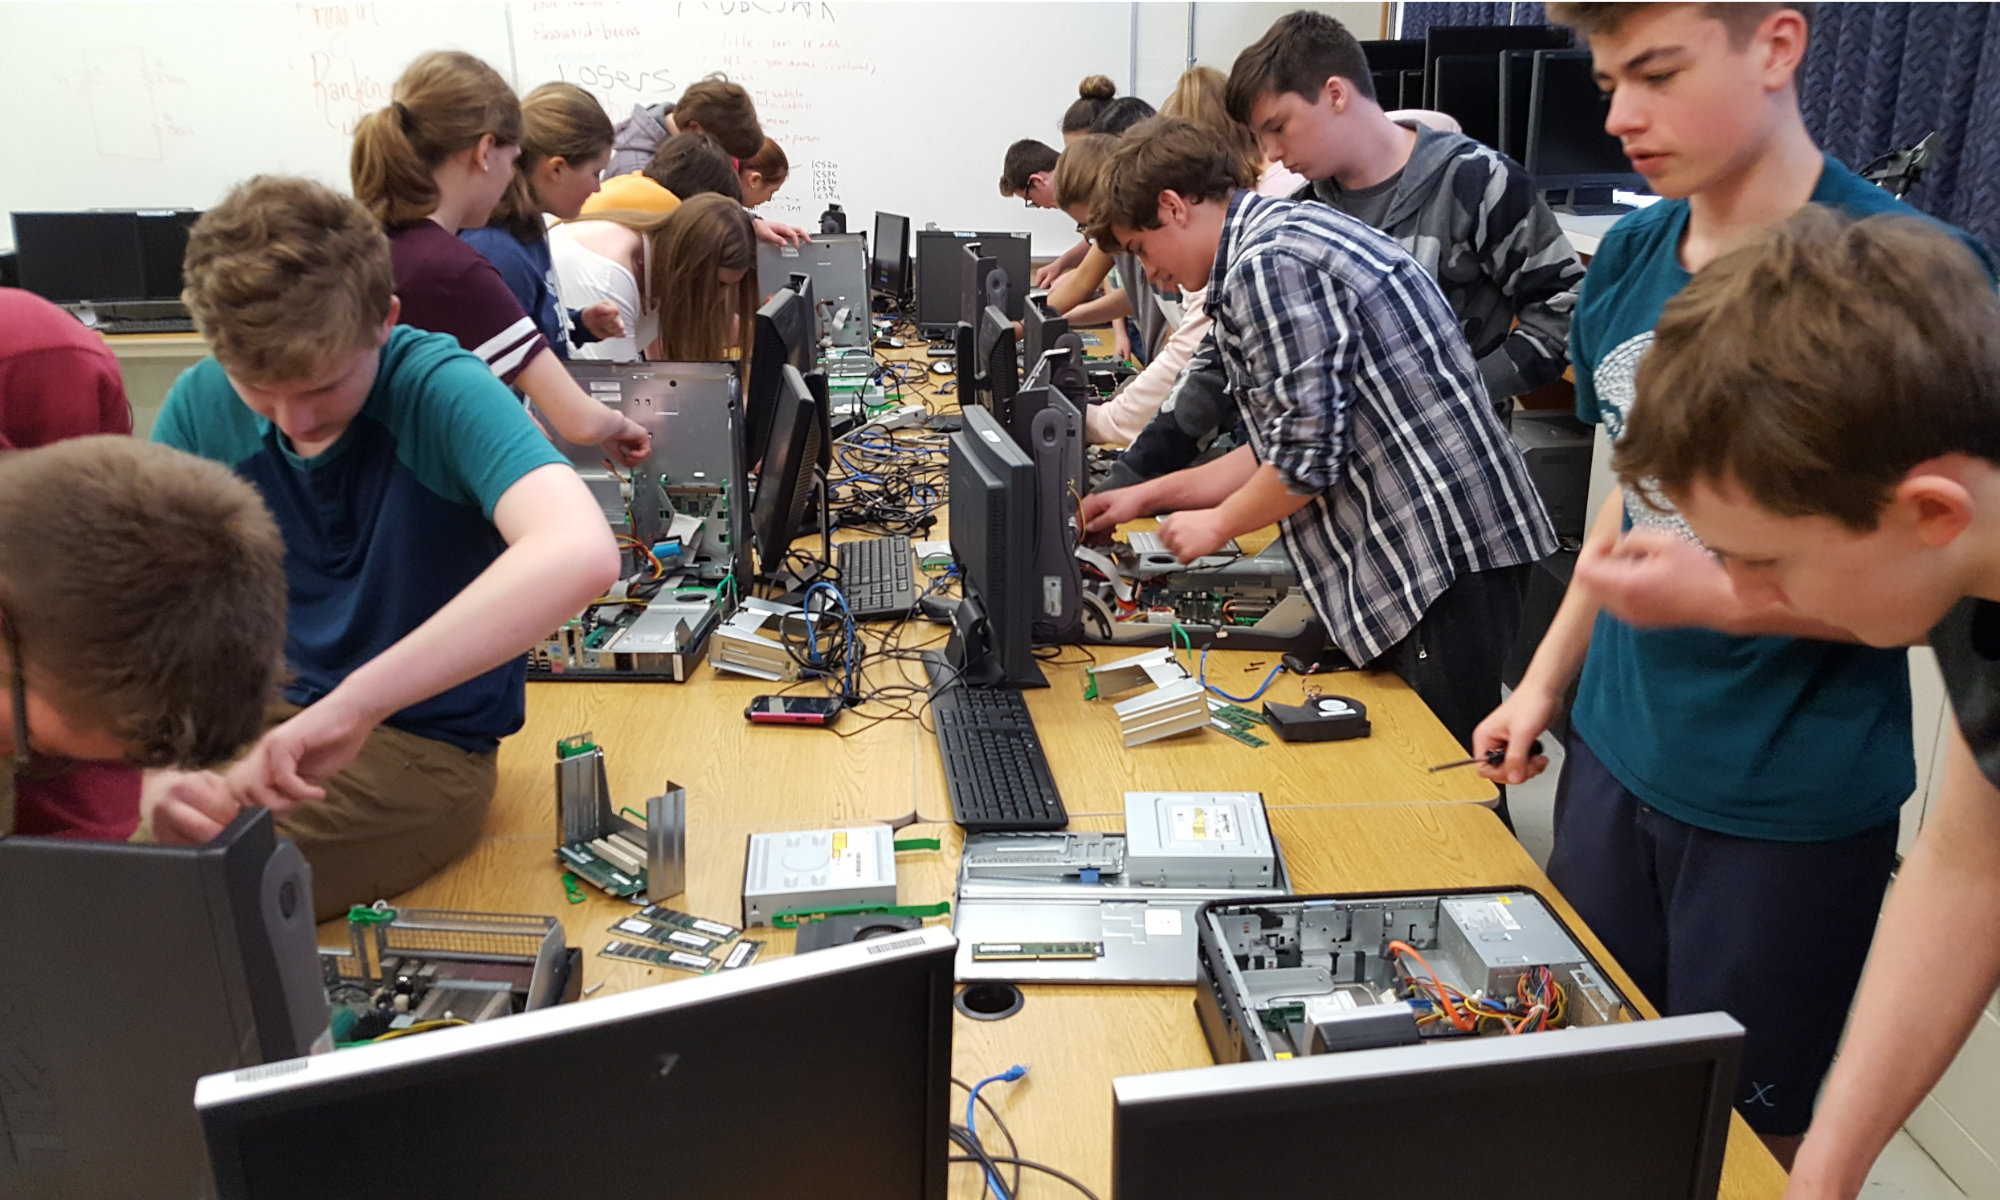
Download this photo into your working folder. (credit: original source unknown)

Rename the file “Full Name Course Code Repair Portrait Photo.jpg”.

Using Affinity Photo or GIMP, edit out all the imperfections in the photo.

Hand in to the relevant handin folder.

Note: be sure to leave a copy of the original image as the background layer.

Already Done This Assignment?
 
Note: for students who have done this assignment previously, use this sailor photo (credit: http://goo.gl/sgbhVV) instead (note: this image is only available to students on the class mail list).
Using Affinity Photo (or equivalent), put each segment on its own layer, then colourize the image for full marks. Hand it into the same folder as the Repair Photo assignment.  [instructor link]
Want some extra challenges? See this website.

Affinity Photo Tutorials

This list of tutorials has been recommended by my students (from this master list) and is a work in progress. The order of the tutorials is somewhat random right now but will be reordered based on student feedback.

  1. Beginners – Adjustments (difficulty: 1)
  2. Beginners – Exporting (difficulty: 1) (no assignment)
  3. Beginners – Filters (difficulty: 1)
  4. Beginners – Layers (difficulty: 1) (assignment: put a logo on a picture….your choice!)
  5. Removing background from Trees (Leaves selection) (difficulty: 1)
  6. Haze Removal (difficulty: 1)
  7. How to Change Eye Color (difficulty: 2)
  8. Inpainting (difficulty: 2)
  9. Layer Concepts (difficulty: 2) (no assignment)
  10. Shadows/Highlights (difficulty: 2)
  11. Curves (difficulty: 2)
  12. Clone Brush Tool (difficulty: 2)
  13. Refining Selections (difficulty: 2)
  14. Easily Create REALISTIC Light Beams (difficulty: 2)
  15. Adjustment Layers (difficulty: 3)
  16. Mask Layers (difficulty: 3)
  17. Affinity Photo Tutorial Manipulation Effects Editing (difficulty: 5) (Note 2)
  18. How to Retouch Skin in Affinity Photo (difficulty: 5) (Note 1)

You must do all the level 1 tutorials, a minimum of 5 level 2’s, and a minimum of 2 level 3’s, 4’s, and 5’s.

Note 1: take your own picture for this assignment.

Note 2: use only creative-commons photos for this assignment. Be sure to keep the links to your sources to give credit!

Multiplicity

See the example photos below for an idea of what this assignment is about.
It is highly recommended that you use a tripod for this assignment, but it can be done without.
Be sure you submit your assignment with all the layers intact. Do NOT flatten the image.
Here are some instructions created by a former student that may help if you don’t know how to proceed.
If you wish to practise using the images used in the first example, you can download them from here.
Mr Beens (images)
Sammi C.
Connor H.
Alexis R

Motorcycle Ride in El Salvador, March 2016

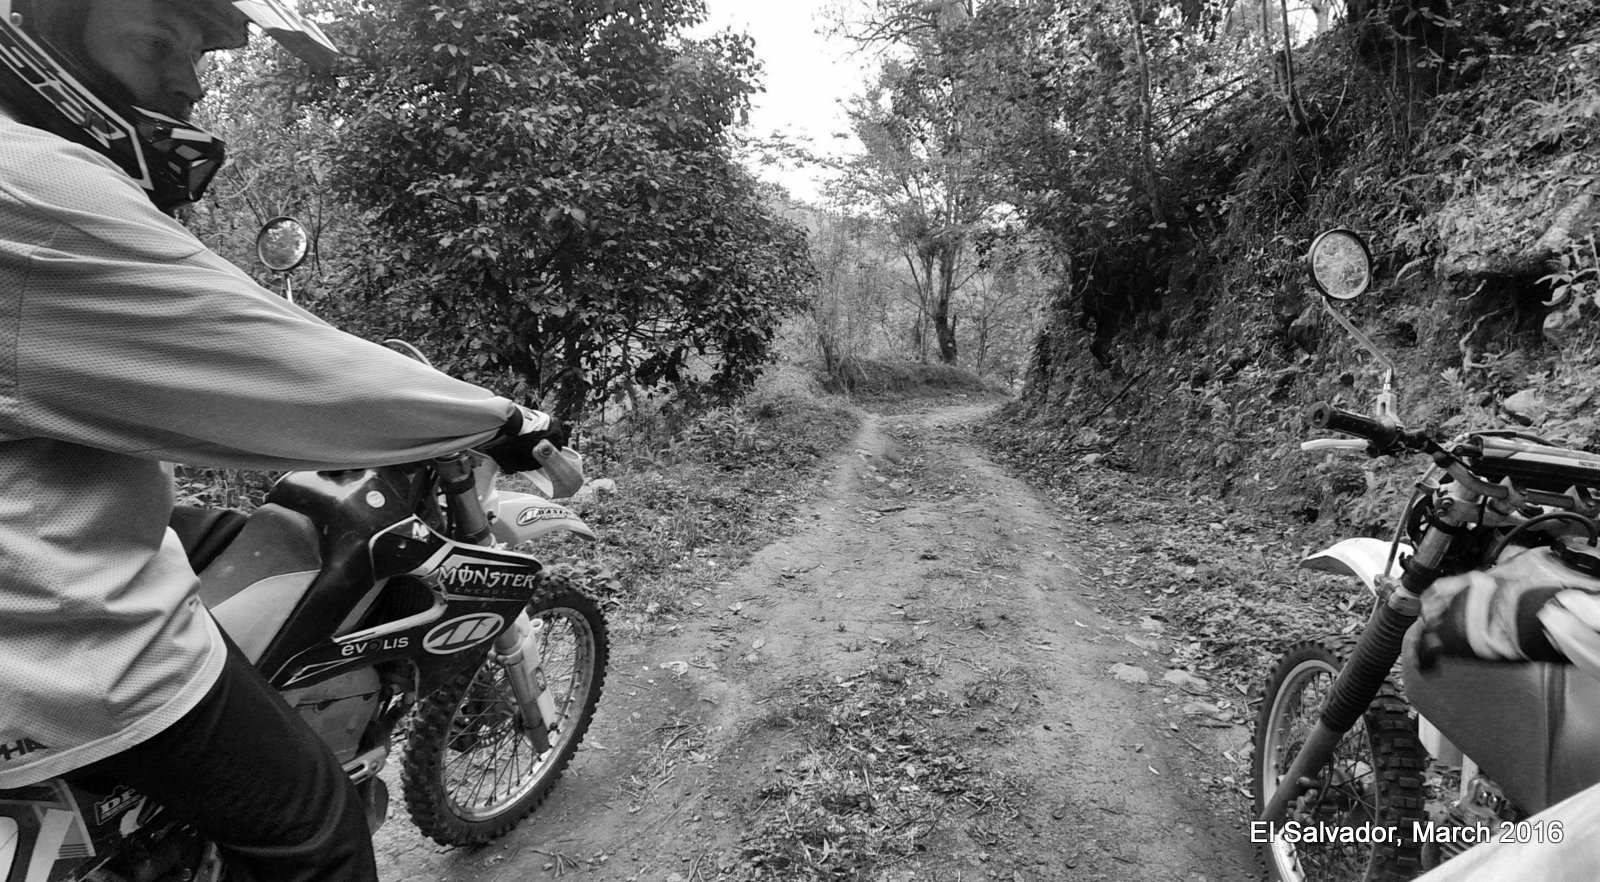
Just for fun, I attached a GoPro camera to the handlebar of the Kawasaki KLX 250 I was renting from Moto Tour El Salvador back in March 2016 and set it to take pictures every 10 seconds. With the roads and trails being so rough I was amazed at the photos the camera captured. The quality of the photos clearly isn’t the equal of anything even a point-and-shoot could have taken, but I think they do a great job of capturing the adventure of the ride. Continue reading “Motorcycle Ride in El Salvador, March 2016”