This book is freely redistributable for non-commercial use, with thanks to James M. Fiore via http://dissidents.com/books.htm.
Chrome Sign In
For students having trouble signing into Chrome with their DSBN account, enter this address directly into the Chrome address bar and you should be able to sign in properly:
chrome://chrome-signin
Why sign into Chrome?
It will sync your bookmarks and Chrome extensions so wherever you are logged into Chrome (other classes, at home, on your laptop) everything will be sync’d.
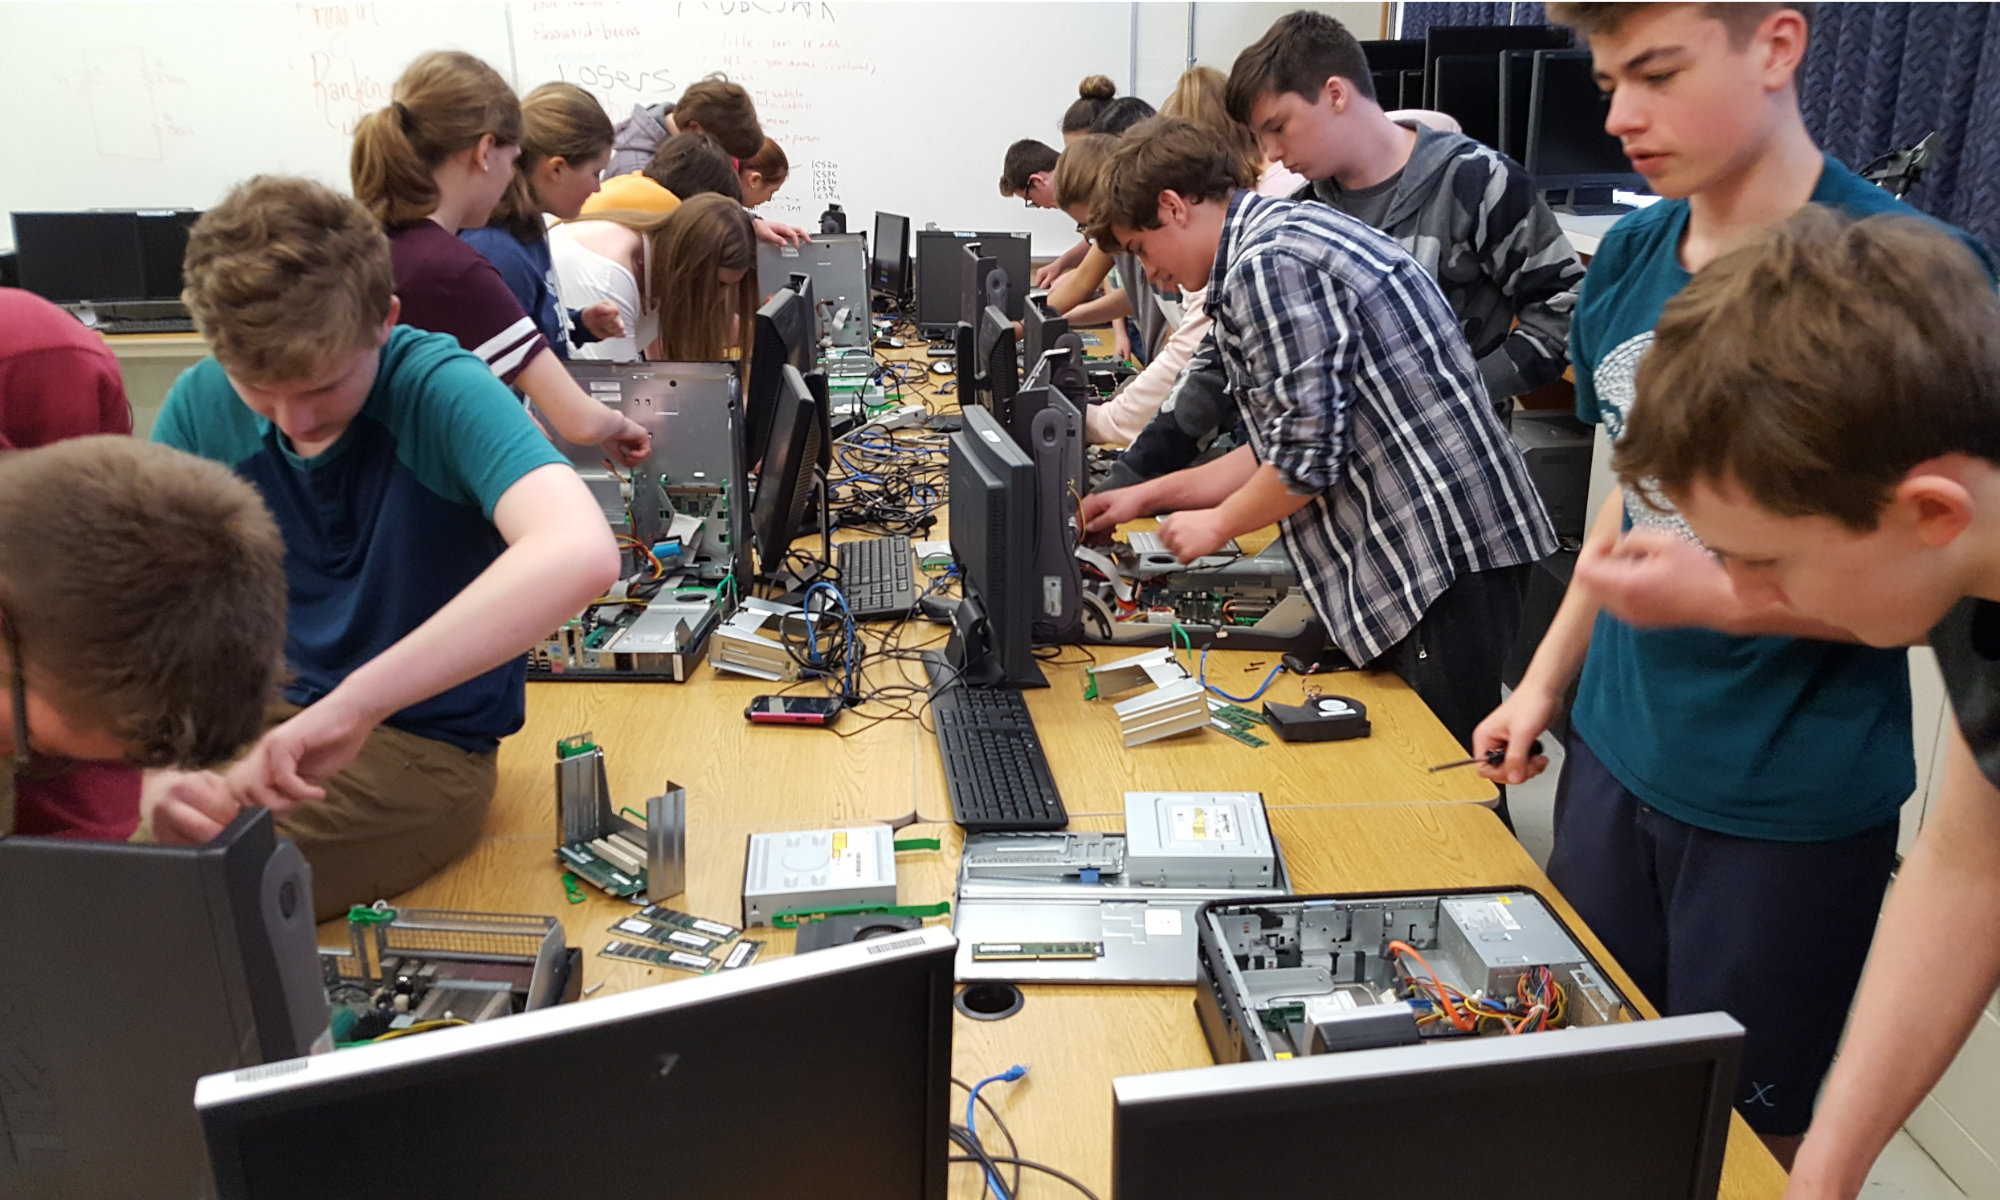
Computer Hardware Safety Rules

When installing/removing computer hardware and other peripherals:
- Wear proper apparel. Avoid acrylic or wool sweaters when working with electronic parts. Do not wear loose fitting clothing, rings, bracelets etc.
- Unplug all computer equipment and peripherals before opening any covering cases.
- Keep your work area clean and well lit.
- Check for damaged parts.
- Do not force components into computer ports.
- Use an anti-static wrist strap or discharge yourself by touching a grounded metal object such as a computer casing.
- Power supplies produce several levels of voltage. Read the information on the power supply carefully and make sure that the power supply you are using is appropriate for the application.
- Replace all cases or coverings after inspections or installations.
- Check all circuits and installations with the instructor before power is applied.
- Retain all screws during disassembly in containers such as film canisters for proper reassembly.
- Electronic components should never become hot. Hot components means that there is a problem with the circuit. Disconnect any power immediately.
The most important safety rule of all: Always Be Careful! (ABC)
(from ICE4M Supplemental Profile Unit 1, Appendix 1.1.1)
(image from https://pixabay.com/p-624558/?no_redirect)
Resistor Colour Code
| Color | Digit value | Multiplier | Multiplied Out | Tolerance |
| Black | 0 | 100 | 1 | |
| Brown | 1 | 101 | 10 | |
| Red | 2 | 102 | 100 | |
| Orange | 3 | 103 | 1,000 | |
| Yellow | 4 | 104 | 10000 | |
| Green | 5 | 105 | 100,000 | |
| Blue | 6 | 106 | 1,000,000 | |
| Violet | 7 | 107 | 10,000,000 | |
| Gray | 8 | 108 | 100,000,000 | |
| White | 9 | 109 | 1,000,000,000 | |
| Gold | ±5% | |||
| Silver | ±10% |
See also http://www.eeweb.com/toolbox/4-band-resistor-calculator for an online resistance calculator.
Arduino PWM Activities
LED Dimmer
Using the Arduino reference page as a starting point, research the basics of how to use pulse width modulation (PWM) on the Arduinos.
For this activity, you will wire up a potentiometer so it controls the brightness of an LED.
Refer to the Arduino Potentiometer Activities page for further instructions.
Light Sensor
This activity is simply adapted from the LED Dimmer activity, but you will be using the light sensor in place of the potentiometer.
Note that the light sensor input will have to be “scaled” so that when the sensor is covered (dark) the LED will fully lit and when it is uncovered the LED is fully off.
The Design Process

This design process model is based on the Ontario 2008 Technological Education curriculum.
From the curriculum:
“Although processes such as this involve a framework of sequential steps, they are typically iterative processes that may require a retracing of steps, diversions to solve specific problems along the way, or even a return to the start of the process if it becomes clear that the situation needs to be clarified and the problem redefined. Problem solvers soon discover that the process calls for an open mind, the freedom to be creative, and a great deal of patience and persistence.”
The graphic above is based on one created by Jackie Griffith. Thanks to Jackie for allowing me to adapt it.
Here’s a comical look at the design process! (click to view full size)

How to Install Apache (on Linux)
Type each of these commands into a terminal window:
sudo apt-get update
sudo apt-get install apache2
To check if Apache is running, enter either 127.0.0.1 or localhost into your web browser.
How To Install KompoZer (on Linux)
(Adapted from https://help.ubuntu.com/community/InstallKompozer)
All the commands listed on this page must be entered by copying and pasting into a terminal window.
First, install the dependencies:
sudo apt-get install libatk1.0-0 libc6 libcairo2 libfontconfig1 libfreetype6 libgdk-pixbuf2.0-0 libglib2.0-0 libgtk2.0-0 libidl0 libnspr4 libnss3 libpango1.0-0 libpng12-0 libstdc++6 libx11-6 libxft2 libxinerama1 libxrender1 libxt6 zlib1g
Then, get the two packages, and install them in the correct order. (Copy and paste each line individually.)
For 32 bit systems:
wget https://launchpad.net/ubuntu/+archive/primary/+files/kompozer-data_0.8%7Eb3.dfsg.1-0.1ubuntu2_all.deb
wget https://launchpad.net/ubuntu/+archive/primary/+files/kompozer_0.8%7Eb3.dfsg.1-0.1ubuntu2_i386.deb
sudo dpkg -i kompozer-data_0.8~b3.dfsg.1-0.1ubuntu2_all.deb
sudo dpkg -i kompozer_0.8~b3.dfsg.1-0.1ubuntu2_i386.deb
For 64 bit systems:
wget https://launchpad.net/ubuntu/+archive/primary/+files/kompozer-data_0.8%7Eb3.dfsg.1-0.1ubuntu2_all.deb
wget https://launchpad.net/ubuntu/+archive/primary/+files/kompozer_0.8%7Eb3.dfsg.1-0.1ubuntu2_amd64.deb
sudo dpkg -i kompozer-data_0.8~b3.dfsg.1-0.1ubuntu2_all.deb
sudo dpkg -i kompozer_0.8~b3.dfsg.1-0.1ubuntu2_amd64.deb
You will now find KompoZer in the menu.
Linux
- Learn the Command Line (Codecademy)
- Linux Mint (the Linux we use in class)
- How To Install KompoZer
- How to Install Apache
Arduino Potentiometer Activities
Background
This is a schematic for your circuit:

Some programming basics we will need to know for our program:

Assignment
Write a program that builds on the basics we learned about in our Blinking LED circuit, this time using the value returned from our sensorValue variable as the “on” delay value (set the “off” delay value to 500). Use pin A0 for the input from the potentiometer.
After you have this assignment completed, call your instructor over to have it marked.
Assignment 2
Add the statement
Serial.begin(9600);
to your setup() function and the statement
Serial.println(sensorValue);
to your loop() function.
Run this program, then call your instructor over for a discussion on how to convert this value to a voltage value. Modify your program accordingly.
After you have this assignment completed, call your instructor over to have it marked.
You must be logged in to post a comment.